Submitted by Jon Reed on
With iOS 11, Apple adopted the High Efficiency Image Format (HEIF) as a replacement for JPEG on both iOS and macOS. The HEIF format saves a considerable amount of storage space with its .HEIC files (High Efficiency Image Container) being up to 50 percent smaller than the same image saved in JPEG format. Despite the smaller size, the HEIF format can capture 16 bit color whereas the JPEG only handles 8 bit. Clearly HEIF is preferable to JPEG right? Well the problem of adoption remains - there are still many applications that don't support .HEIC images (try uploading a shot of some furniture you want to sell to Craigslist).
Your iPhone will automatically convert .HEIC to .JPEG when you send the image in an email or message, but it won't do this for other methods of transfer like Air Drop. You could go to Settings -> Camera -> Formats and check off "Most Compatible" to force your iPhone to use JPEG, but then you'd miss out on the advantages of HEIF. A better idea is to simply convert .HEICs when you need to. There are plenty of third-party converters available, here's how to use one called iMazing HEIC Converter on your Mac:
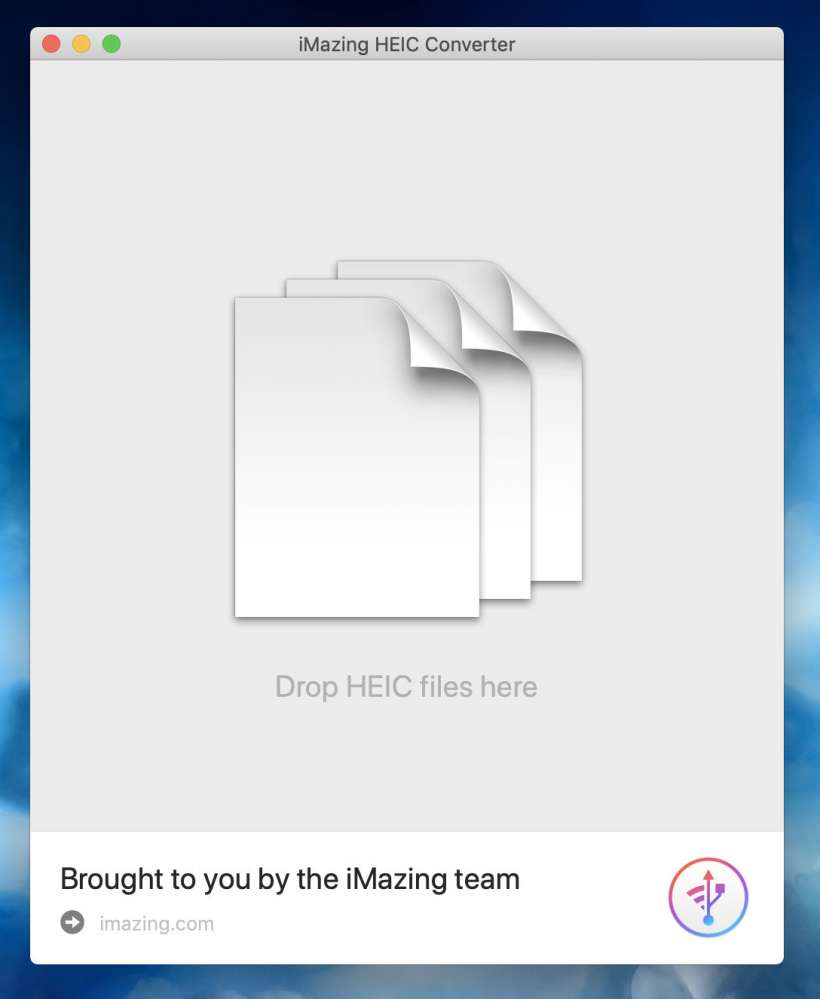
- Download iMazing HEIC Converter, install it and open it up
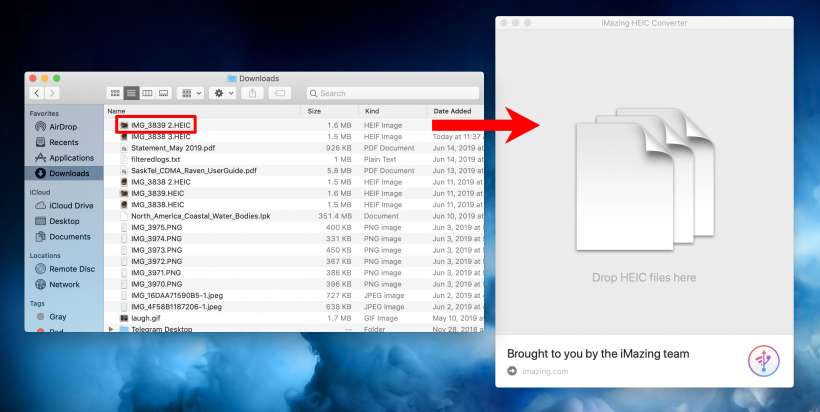
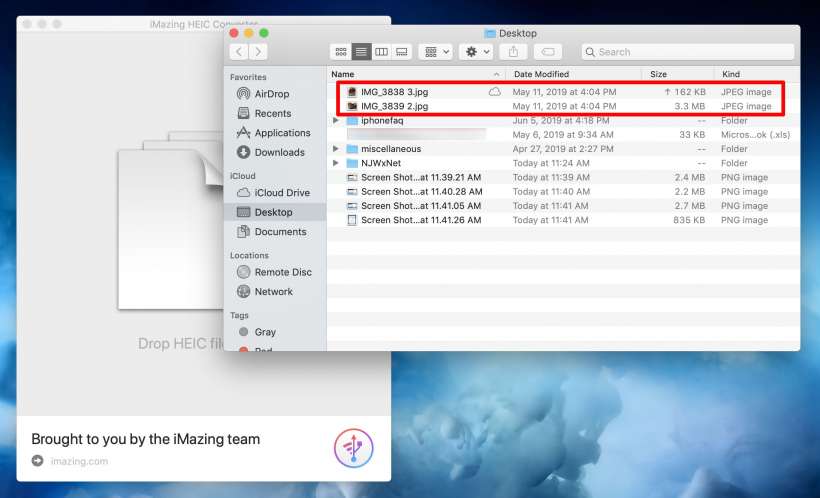
- Find the .HEIC images you want to convert and simply drag them into the iMazing window.
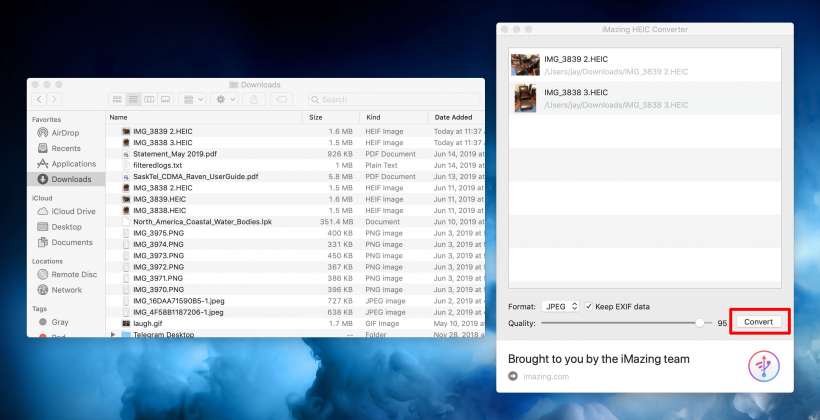
- Drag in as many as you want and when you are ready just click Convert. You can choose between JPG and PNG formats and you can choose to retain the EXIF data or not (metadata about your image) and you can select the quality with the slider. You can reduce the resulting file size by lowering the quality.
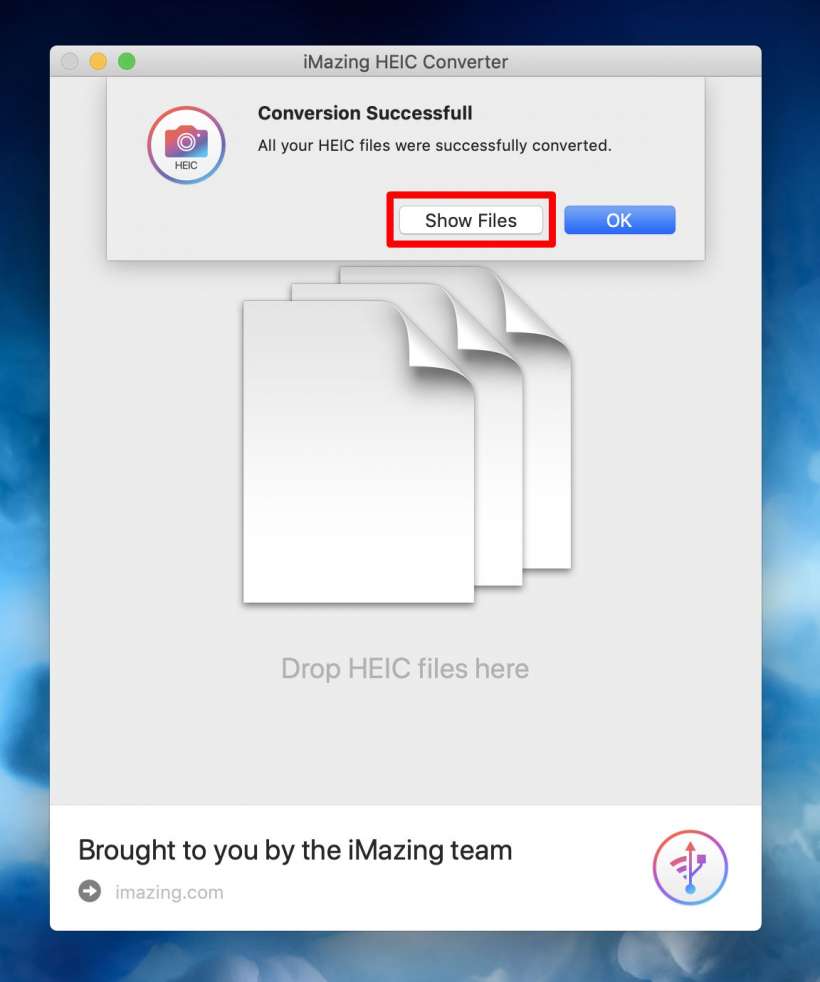
- After converting you will get a "Conversion Successful" message. Click Show Files to see your new JPEGs.
- Voilà, that's all there is to it!
