Submitted by Jon Reed on
iOS 11 has greatly improved the Notes app with the addition of lines and grids, the ability to insert tables, new swipe options and the ability to scan documents, among others. The scanning feature has been long awaited and should replace third-party scanner apps in the near future. It is simple to use and integrates the scans right into your notes. Here's how to scan a document with the Notes app on your iPhone or iPad:
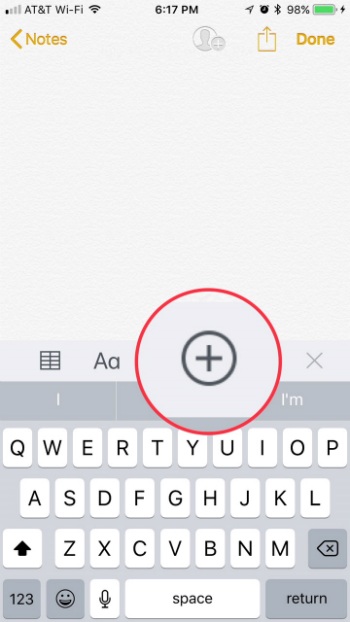
- Open up a note, either new or preexisting, and tap on the "+" icon.
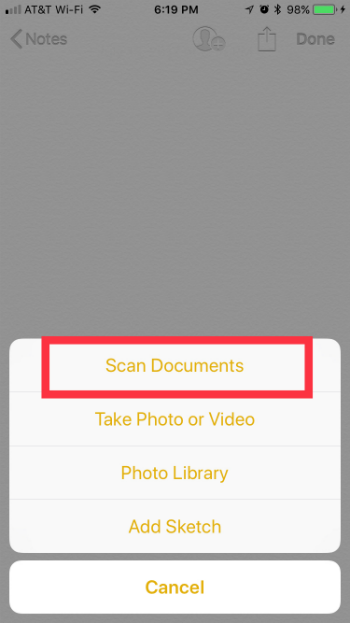
- Select "Scan Documents" to open the scanner.
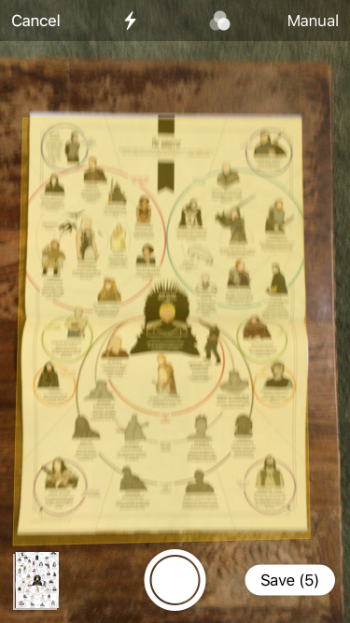
- Train your camera on the document you wish to scan. The scanner will automatically detect the edges, enveloping the area to be scanned in a yellow highlight, and by default, start scanning. In this fashion you can just start feeding new pages of the document and it will continue to scan each one. You can also switch to manual by tapping on "Auto" in the top right, or vice-versa. In manual mode you will have to tap the shutter button to take the scan.
- At the top of the screen there is the usual button to turn on the flash and there is a button for filters, which include Color, Grayscale, Black & White and Photo.
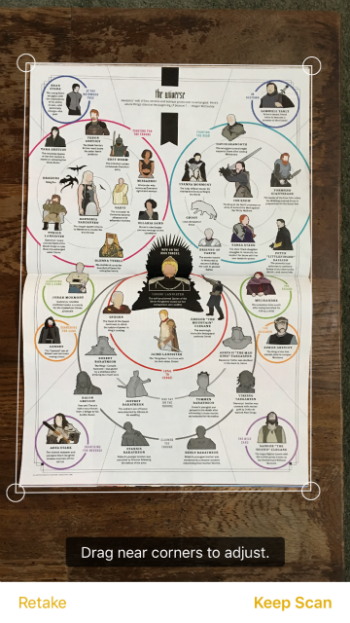
- After you have your desired settings, tap the shutter button to take the scan (unless it is on auto, in which case it will automatically take the scan once it has focused on it). Once it is taken, you can adjust the area you want included by dragging the corners of the box. Tap "Keep Scan" if you want it, or you can retake it.
- You can continue taking scans and they will stack in the bottom left corner. Once you have your desired scans, tap Save in the bottom right. You can also discard your scans with the Cancel button in the top left.
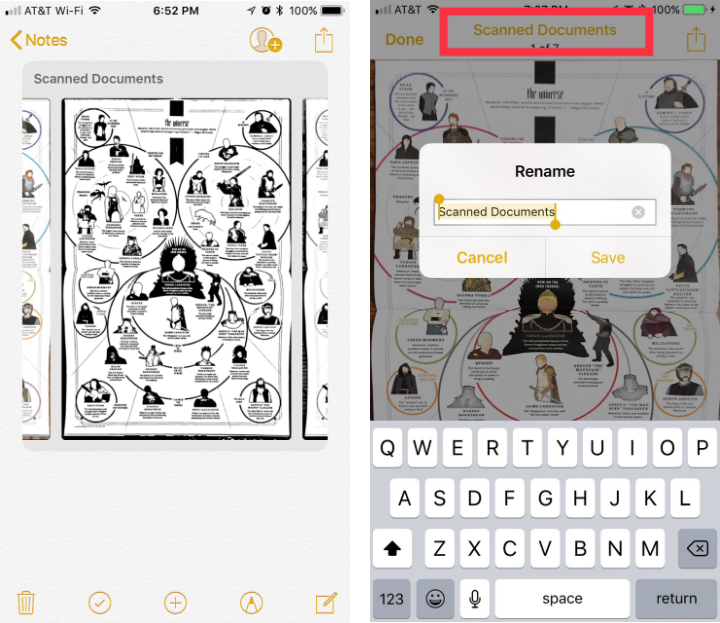
- Now your scans are inserted into your note. Tap on the "Scanned Documents" title to change it if you wish. You can also tap on the scans themselves to share them (as PDFs), edit them, use markup tools, and so on.
