Submitted by Jon Reed on
Once you have created a Clips project and spent time editing it, adding effects, title cards, music and so on, you'll probably want to save it in your Photos app rather than leaving it indefinitely in the Clips app. And since the whole point of making a Clips video is to share it, you'll want to do that as well, probably in Messages as well as a variety of other social media forums like Facebook, Instagram and Snapchat among others. Here's how to save and share your Clips videos:
Saving Clips projects
- Open up Clips and tap on the projects button.
- Tap on the Share button in the bottom right.
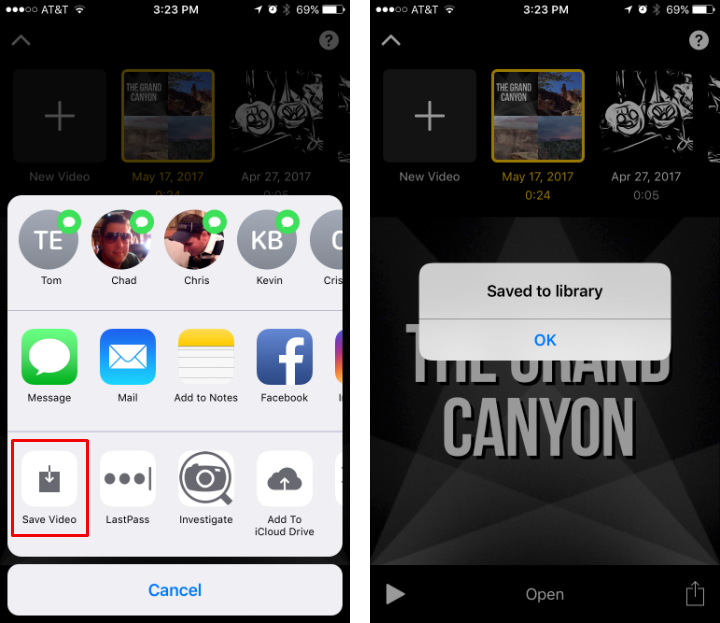
- Your Share Sheet will open and you wil see "Save Video." Tap on it to save it to your Photos app, where it will appear in the Videos album. It may take several seconds depending on how long your video is.
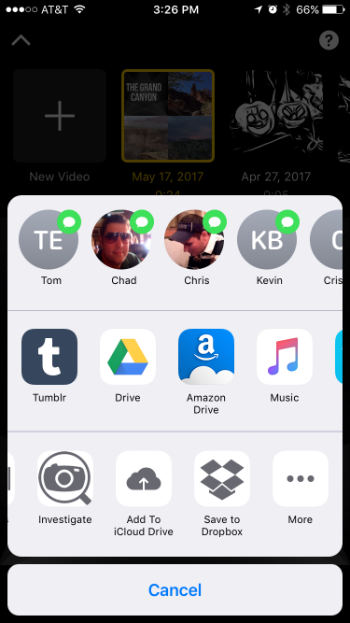
- You can also save it to other storage areas like Dropbox, Google Drive, iCloud Drive, etc. from here if you have them activated in your Share Sheet. If not, you can easily activate them with these instructions.


Sharing Clips projects
- As with saving your Clips videos, you can share them by selecting a project and tapping on the Share button. If you already have the video saved in your Photos app you can open your favorite social media app and share it just as you would anything else from Photos, but it's easier just to share directly from the Clips app.
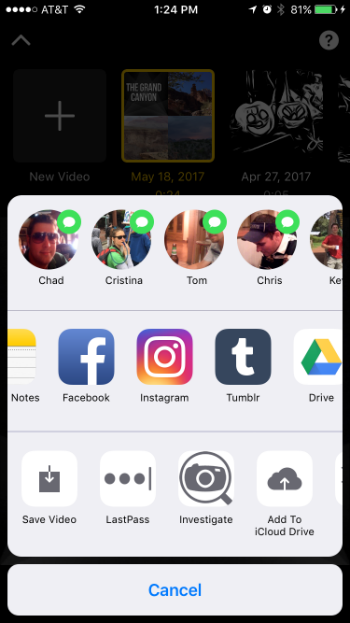
- The Message and Mail apps will appear as share options by default, but other apps like Facebook, Instagram, Tumblr, etc. will have to be added as options if you don't already have them available. Not all apps have sharing extensions available yet (notably Snapchat), so you will have to go through the app itself to share your video.


