Submitted by Jon Reed on
There are many apps that will manage your email accounts besides the iOS Mail app - Thunderbird, Outlook and Gmail will all do the job, to name a few. Outlook is popular with a lot of businesses, so if your work email is managed by Outlook you might want to add your other emails just to be able to access them all in one place. Or maybe you prefer the Outlook interface to that of Mail. Whatever the case, setting up your iCloud email in Outlook is not as straightforward as setting up other email accounts because you can't give Outlook your Apple ID log in to access it, you have to create an app-specific password just for Outlook. Here's how to do it:
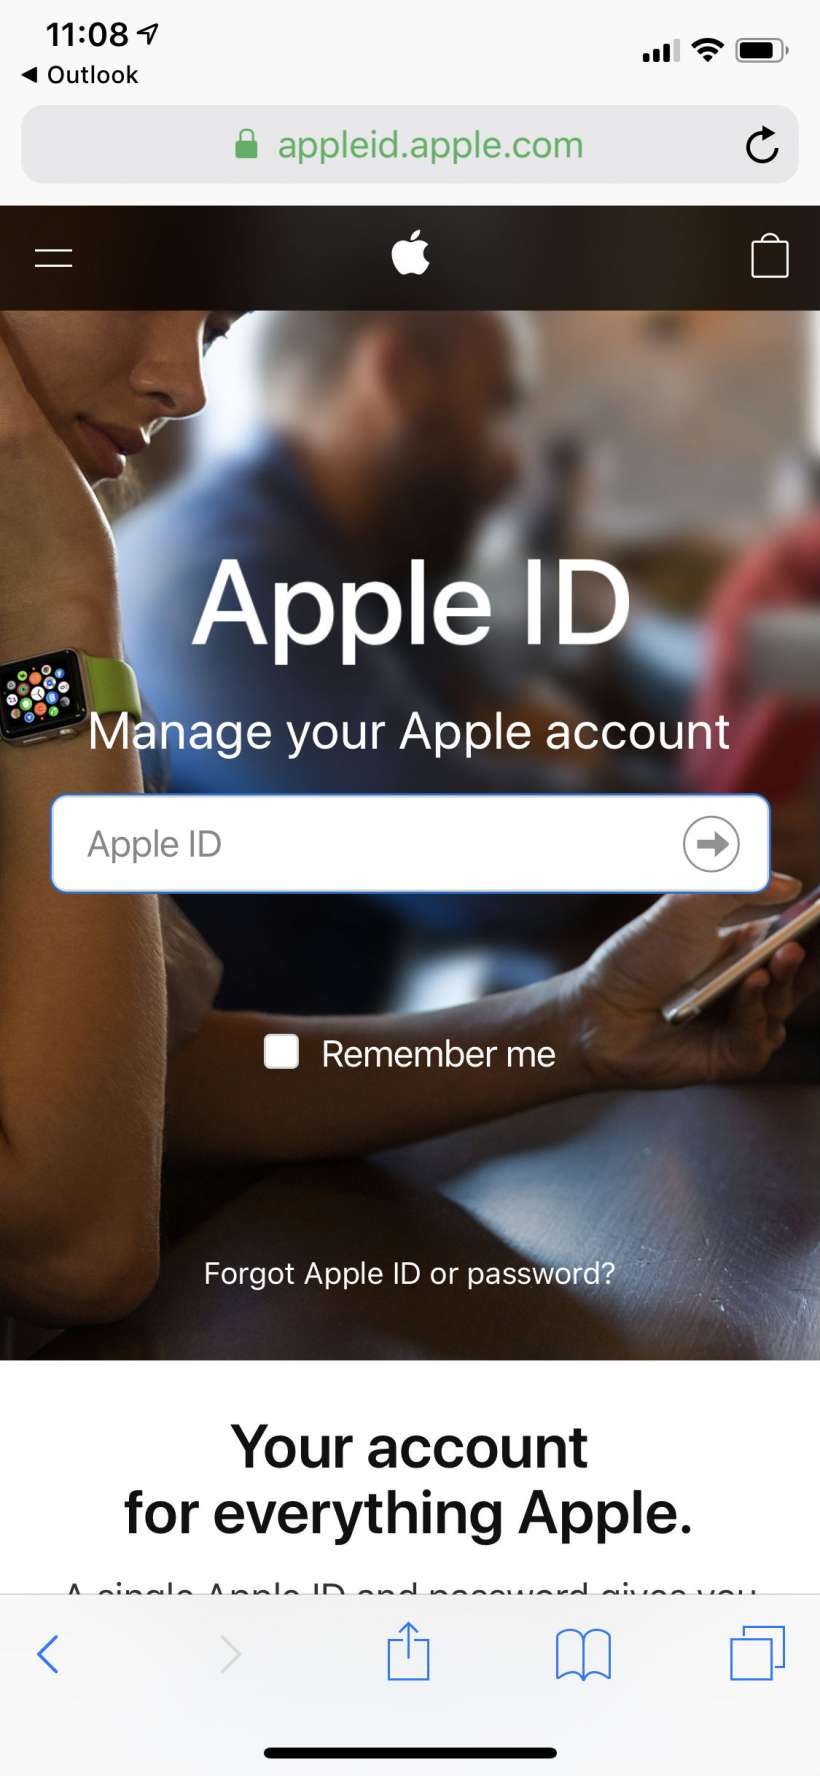
- Open up a browser on your iPhone, iPad or Mac and head to appleid.apple.com. Log in with your Apple ID and password (and then two-factor authentication if you have it turned on).
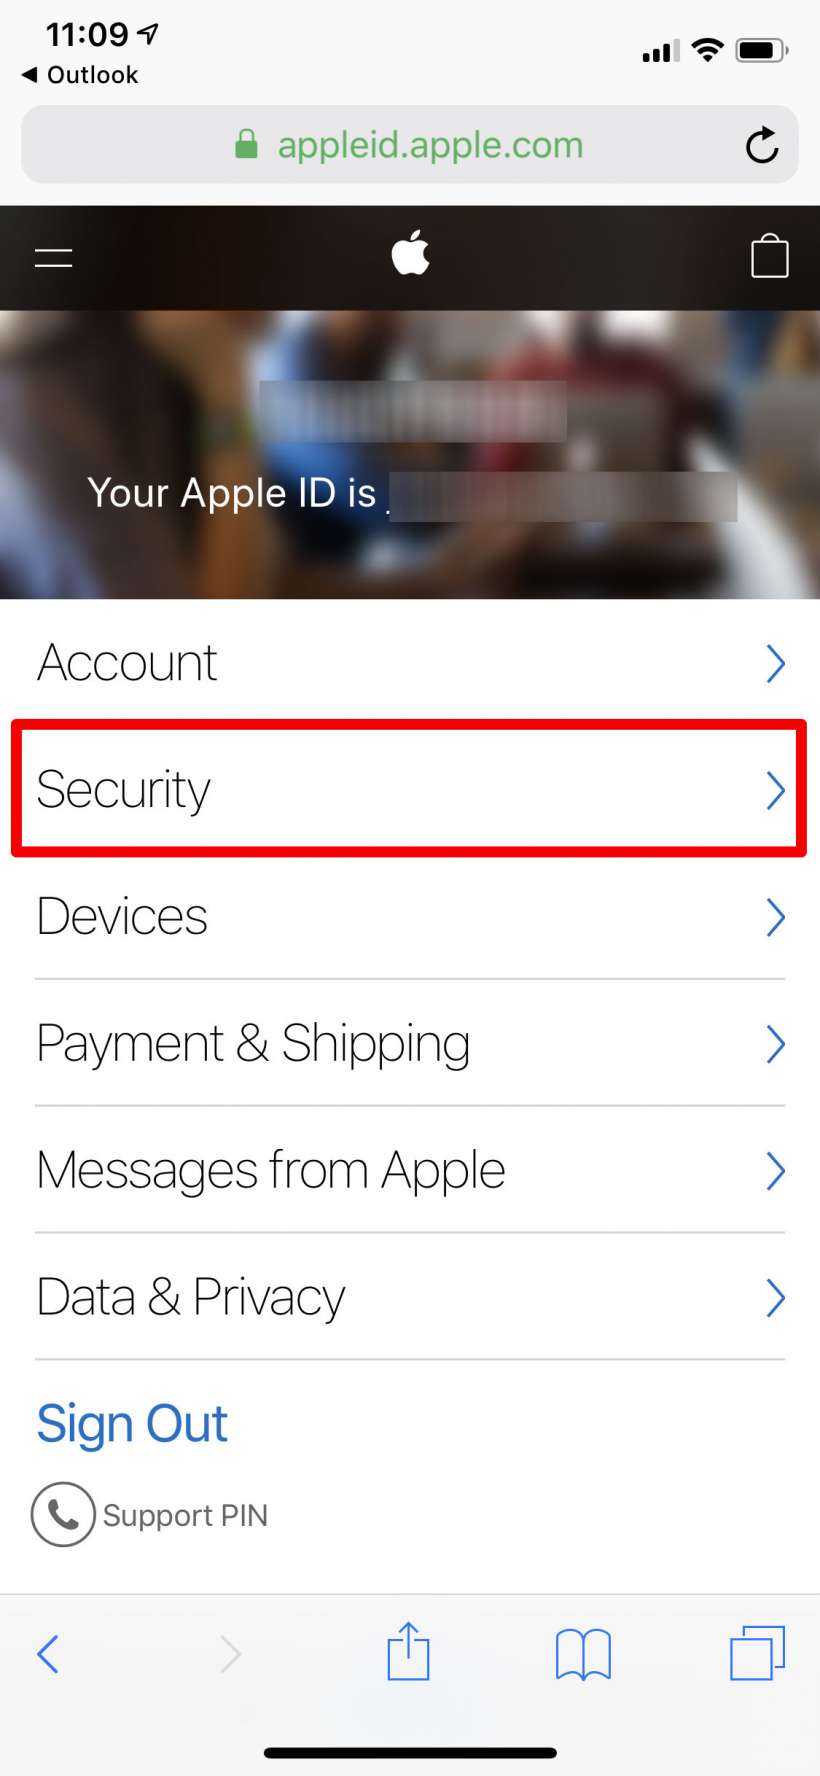
- Open Security.
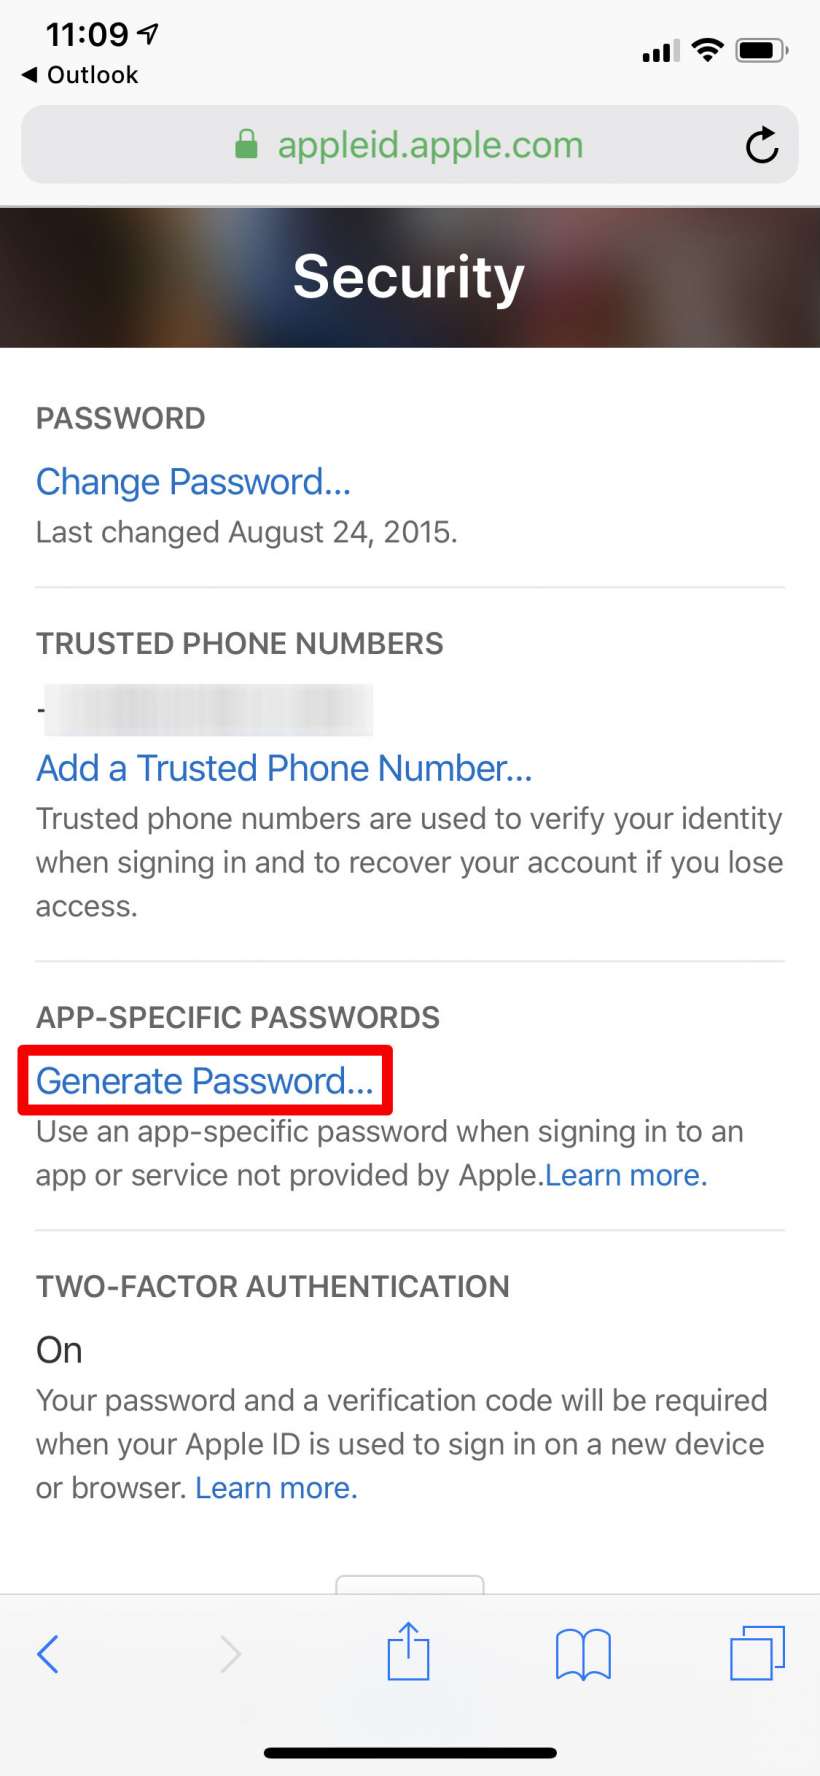
- Tap on "Generate Password" under App-Specific Passwords.
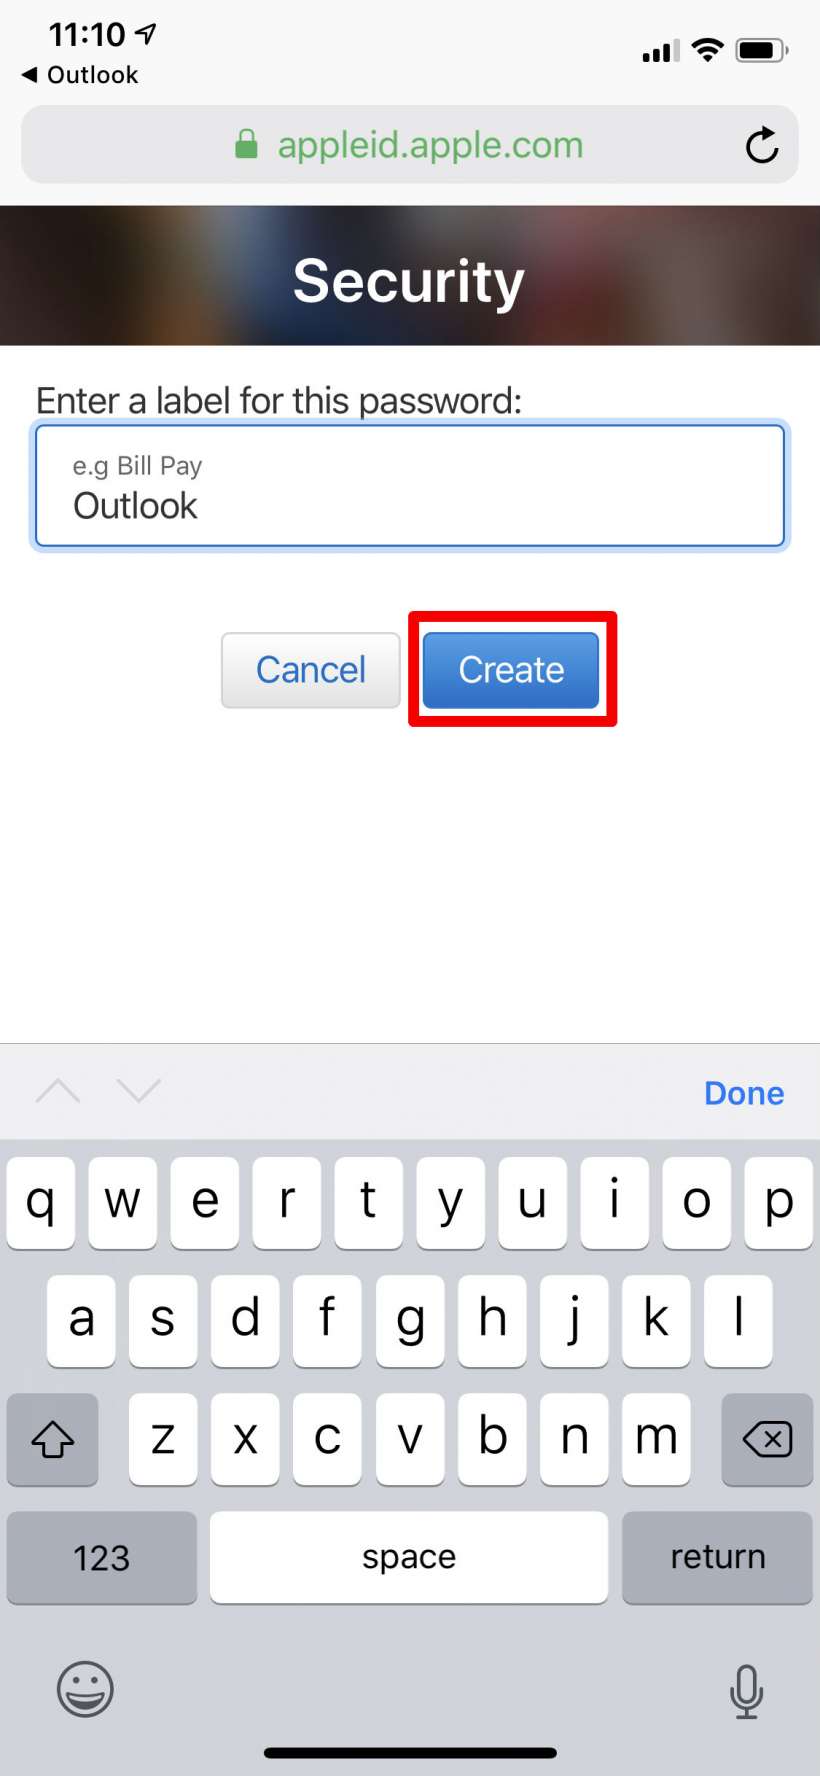
- Give the password a name so you can identify it later, then tap Create.
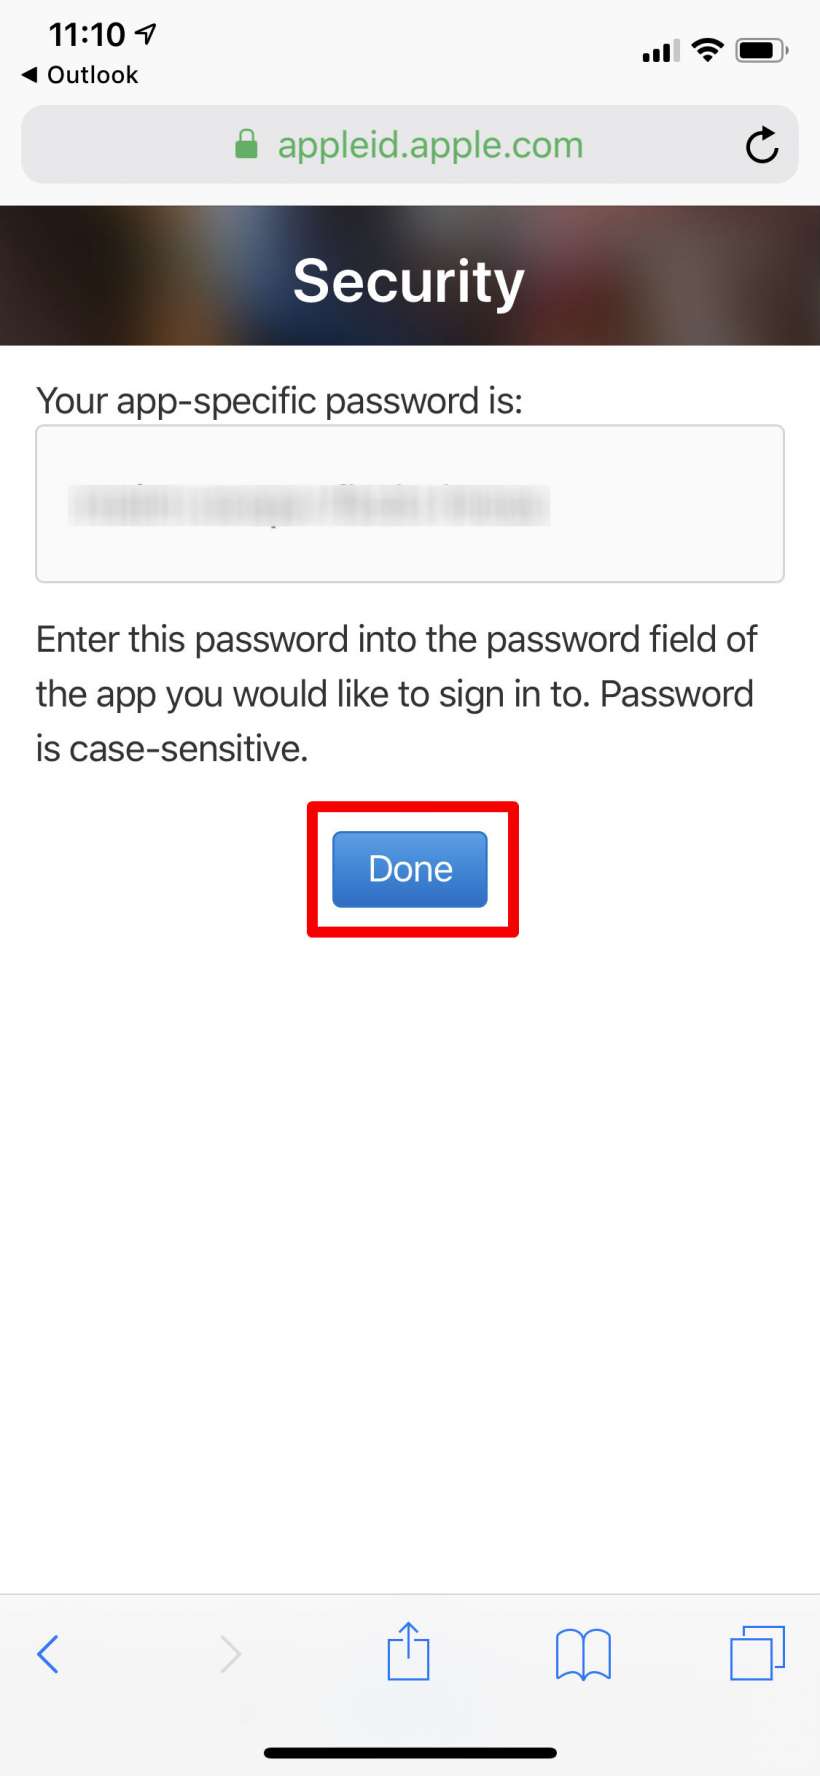
- Now you will see your password.
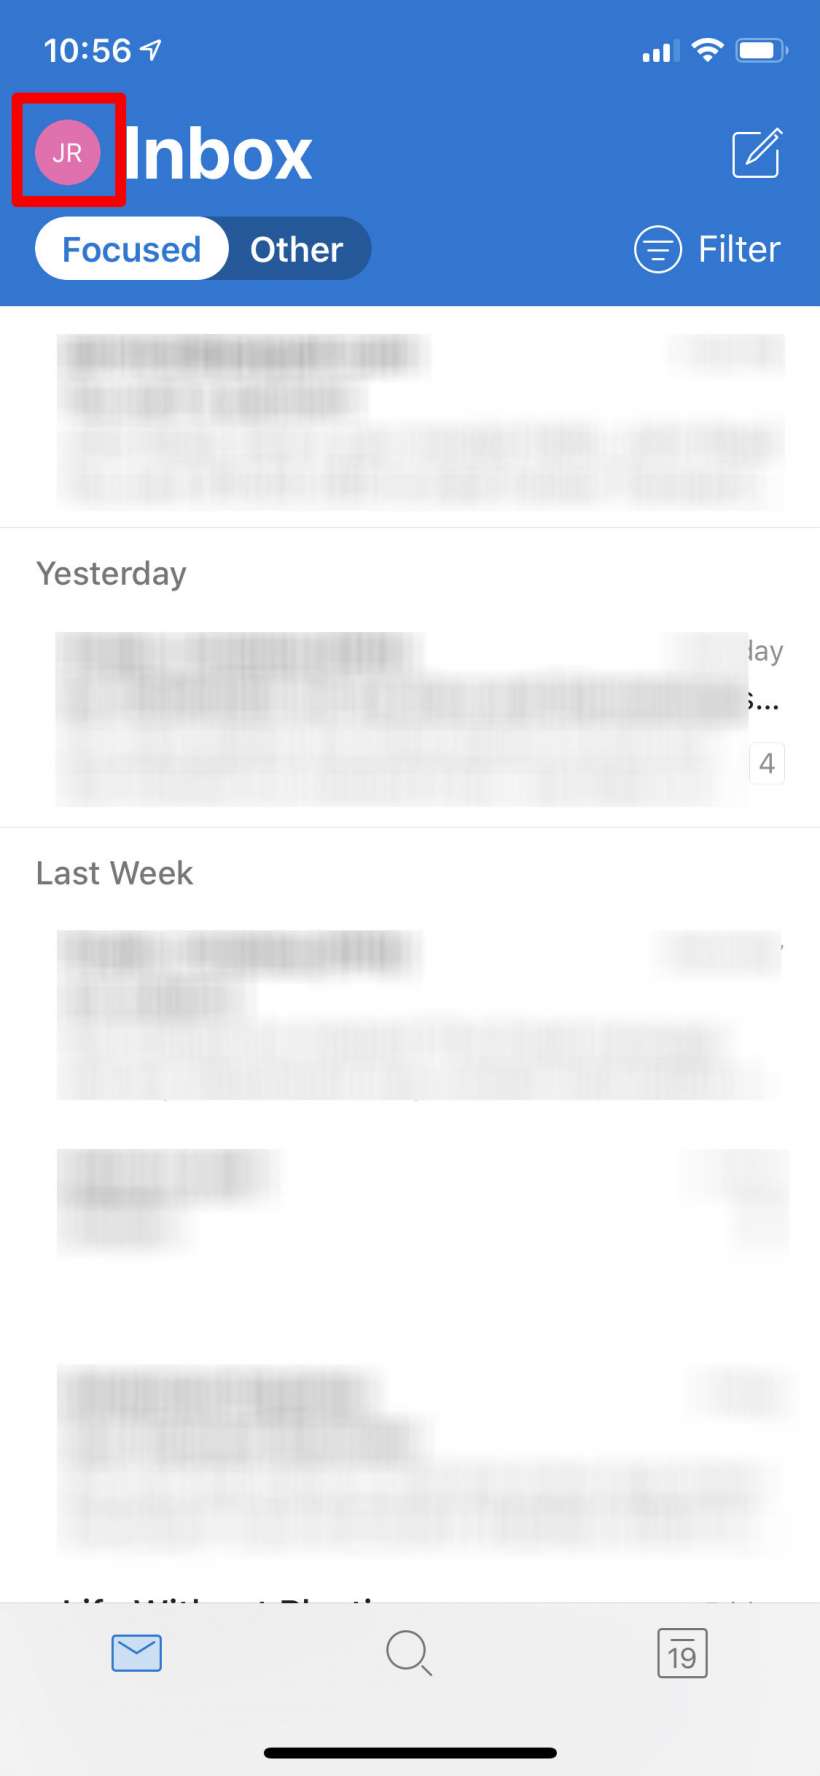
- Now open Outlook to add your iCloud email. If it is your first time using Outlook it should prompt you to add an email address. If you already have other emails set up, tap on the symbol in the top left (it could be a symbol of the email you are using or it might just be your initials).
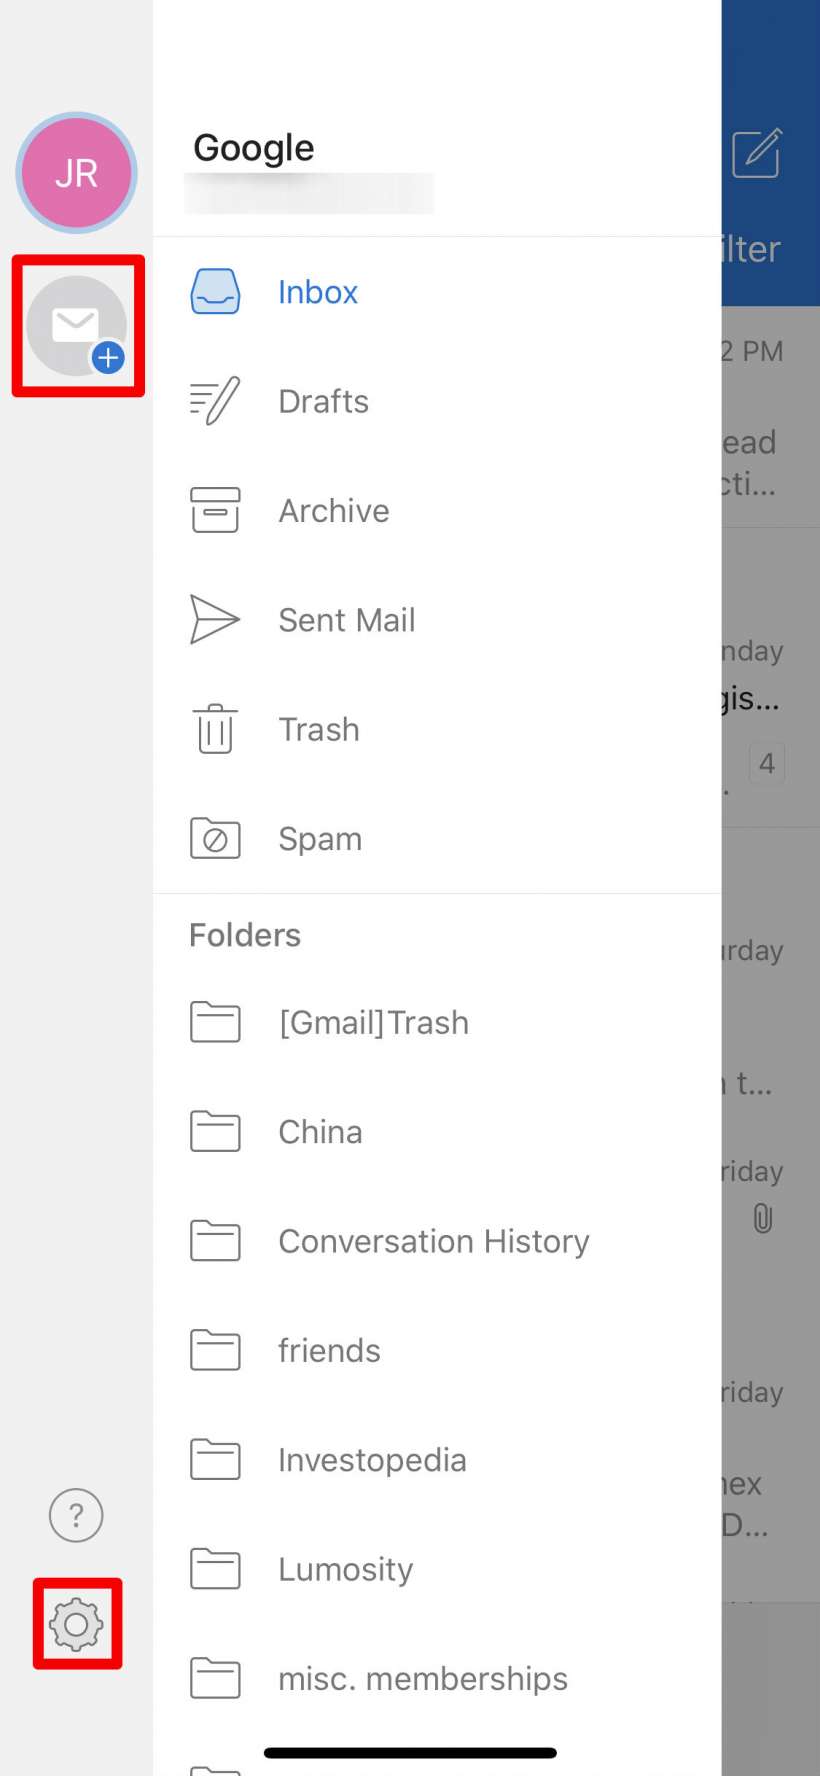
- If you have just one other email account you can tap on the envelope icon with a "+" on it to add another account. For some reason if you have two or more accounts already, this symbol won't appear and you will have to tap on the Settings gear icon at the bottom.
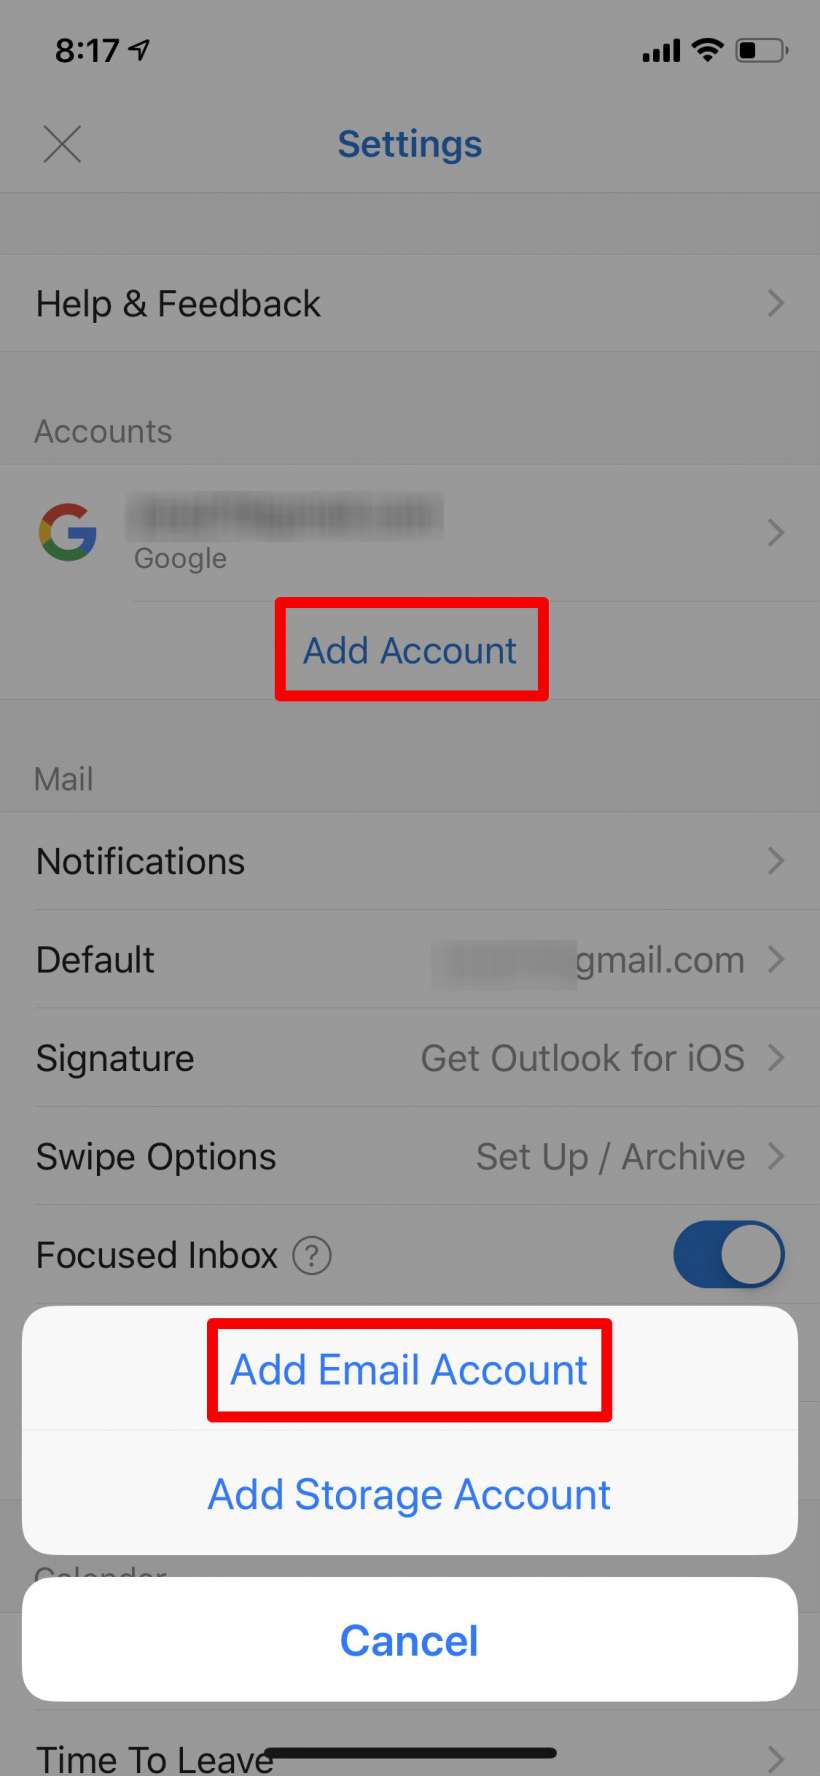
- Tap Add Account, then "Add Email Account."
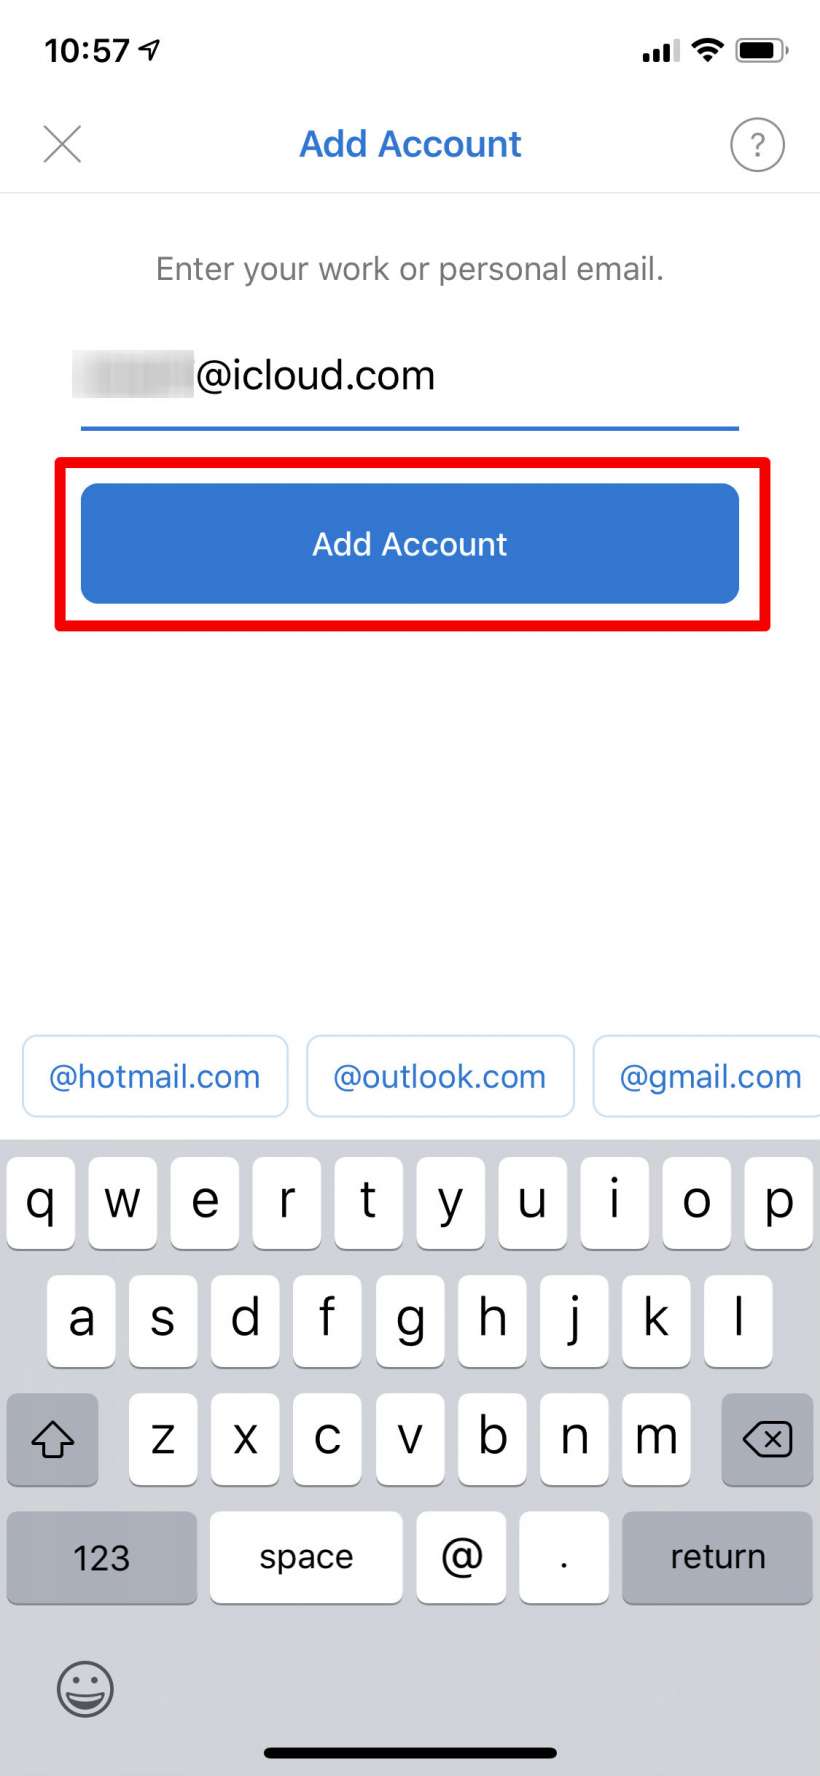
- Now enter your iCloud email address and tap Add Account.
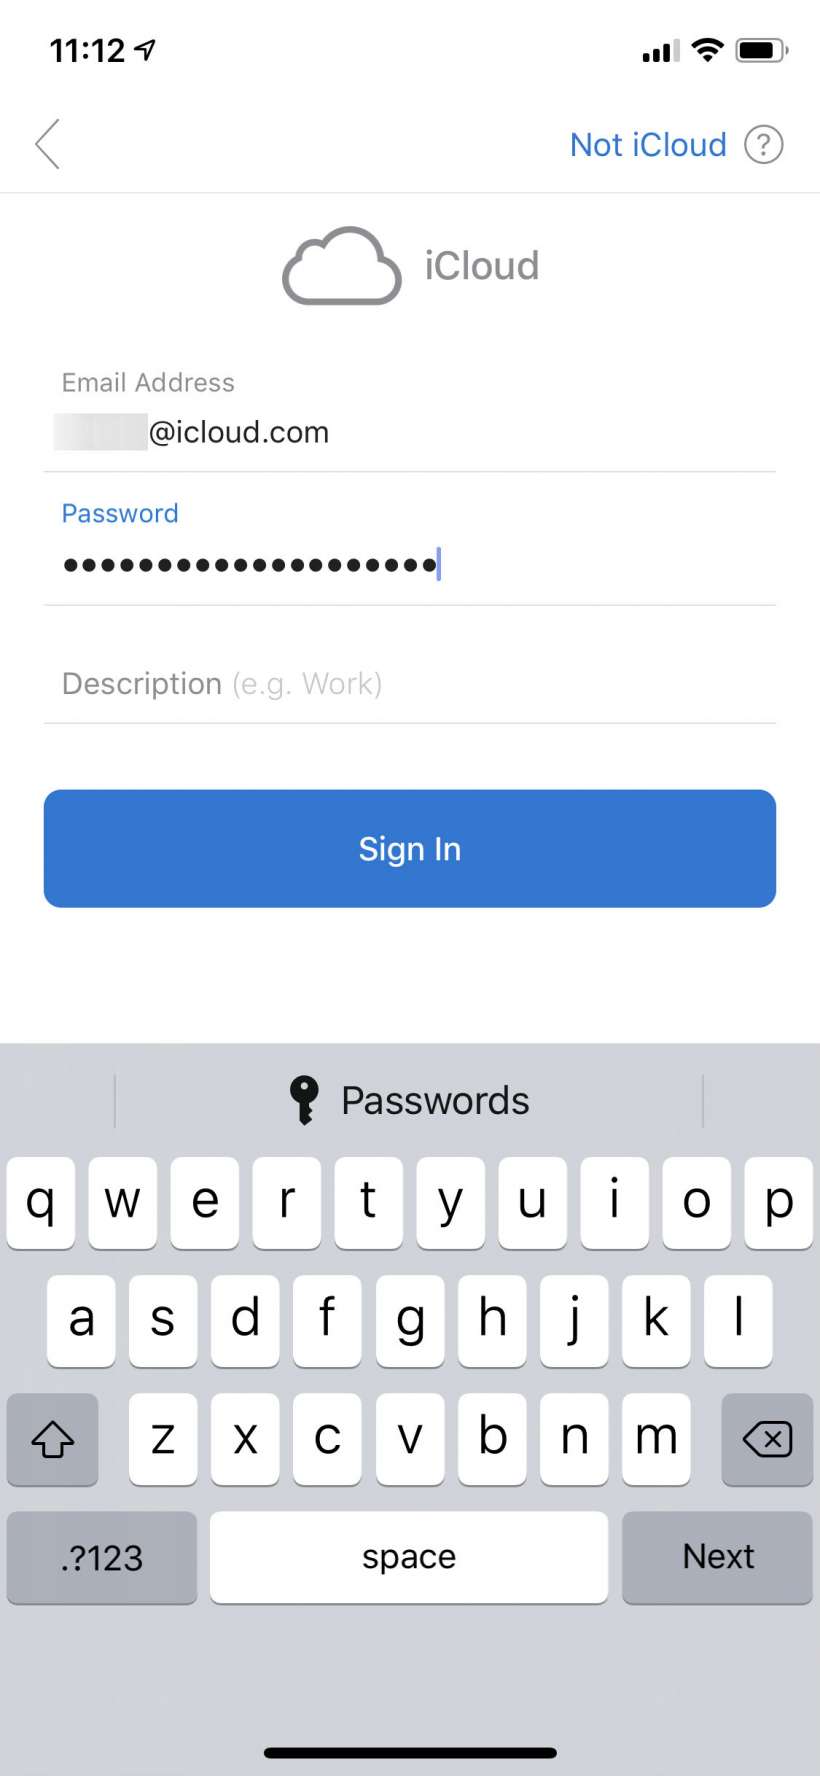
- Enter the password you generated earlier and tap the Sign In button.
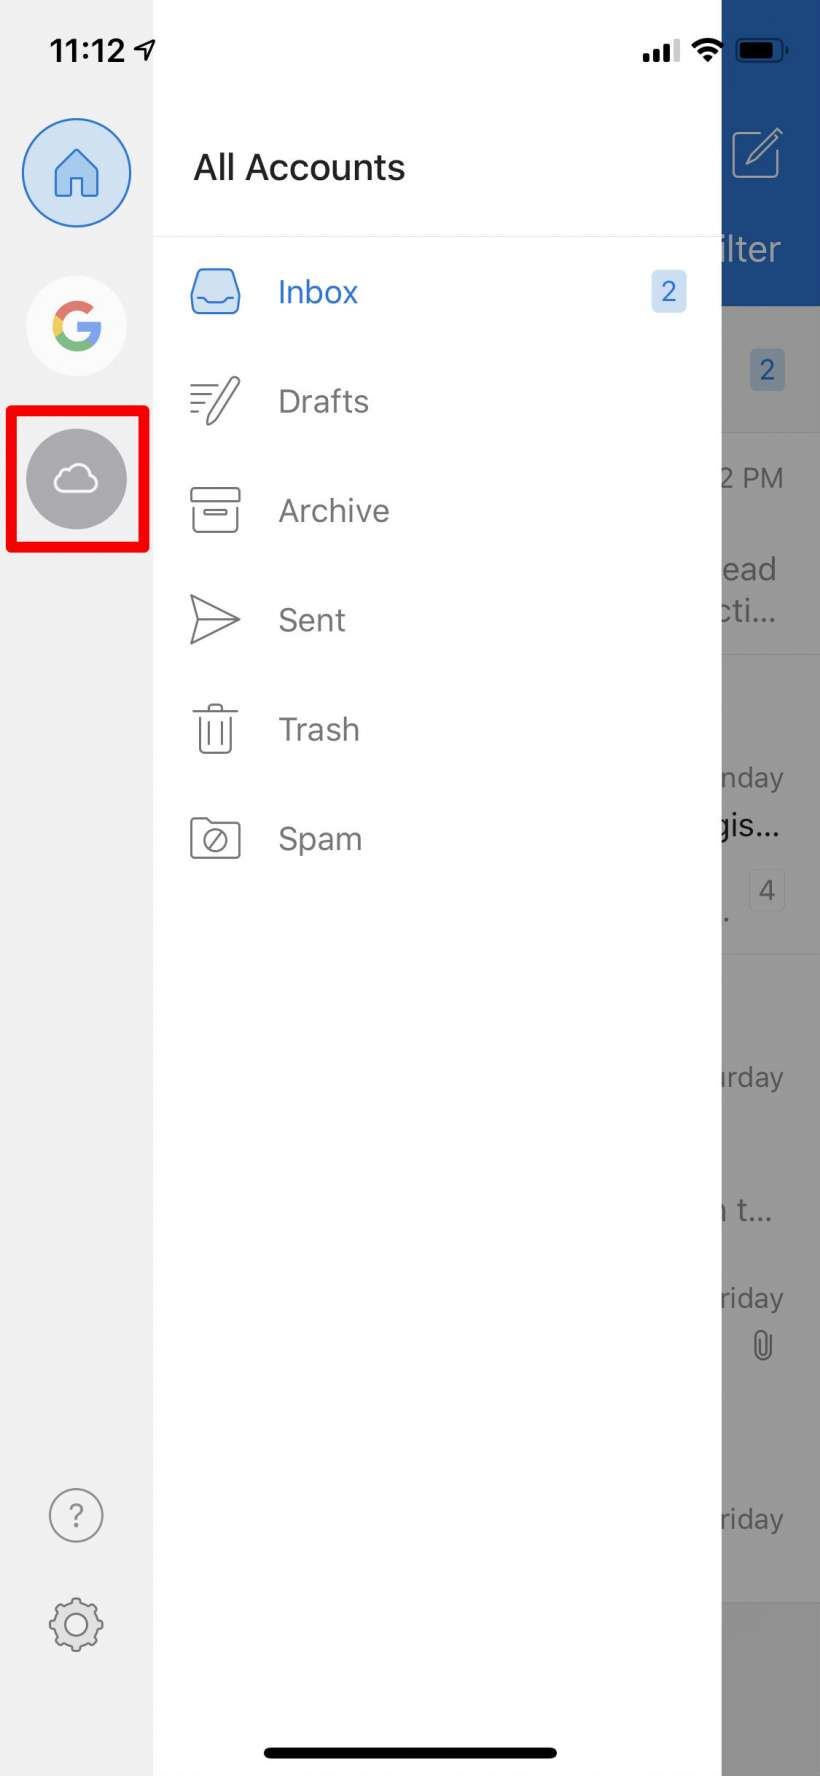
- That's it. If your sign in was successful you will be in your Outlook Home screen and you should see a cloud icon for your iCloud account. Tap on it to go to your iCloud inbox.
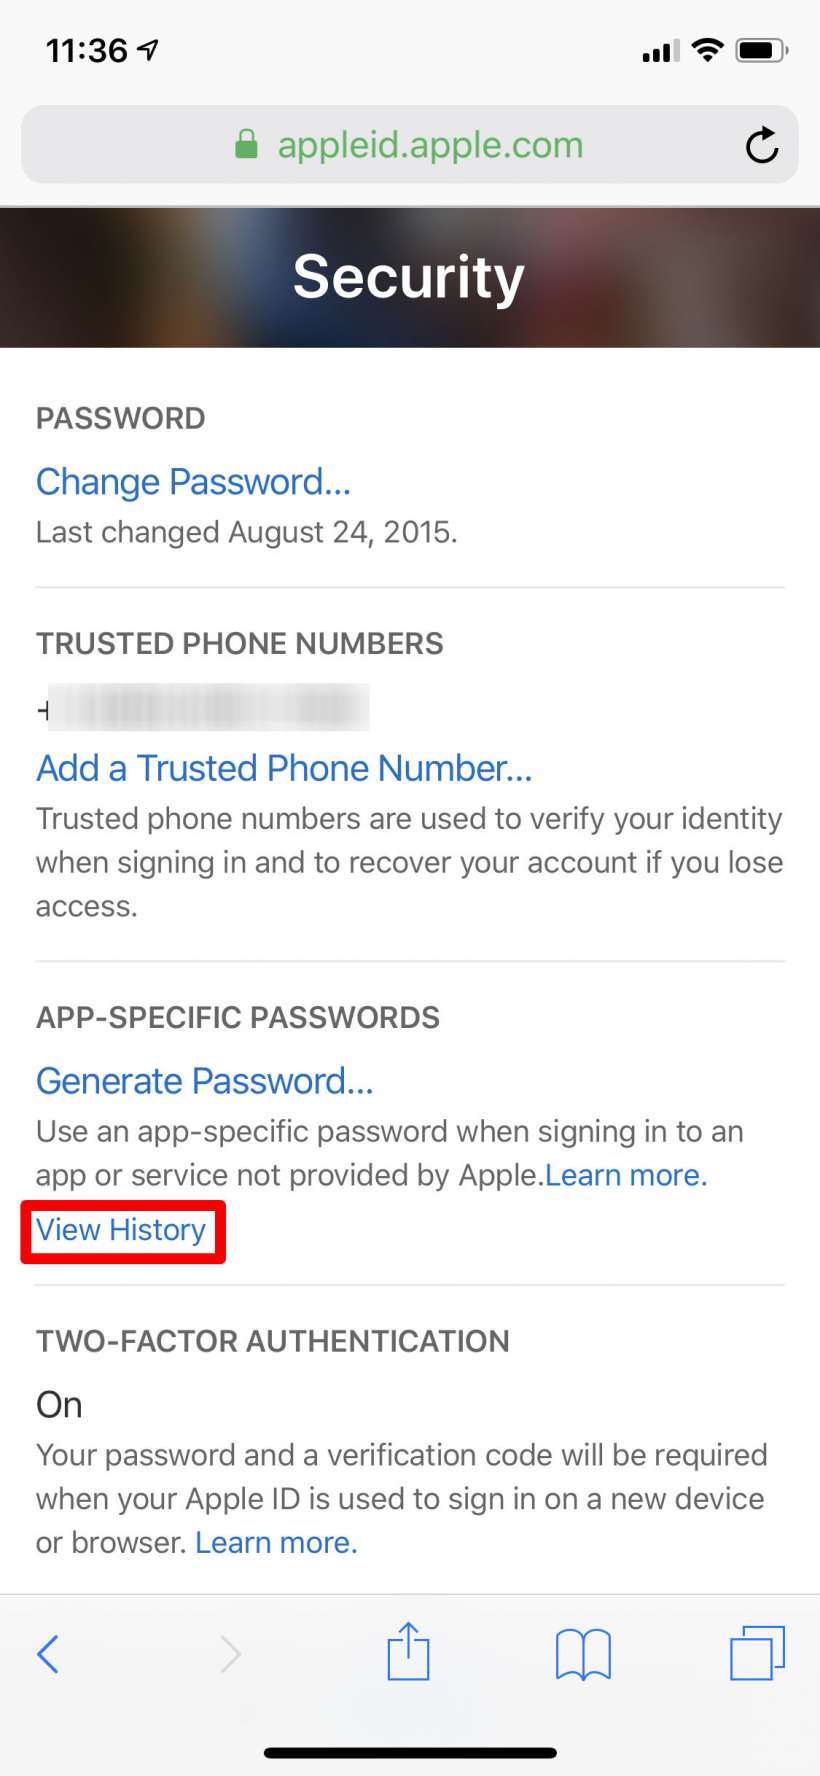
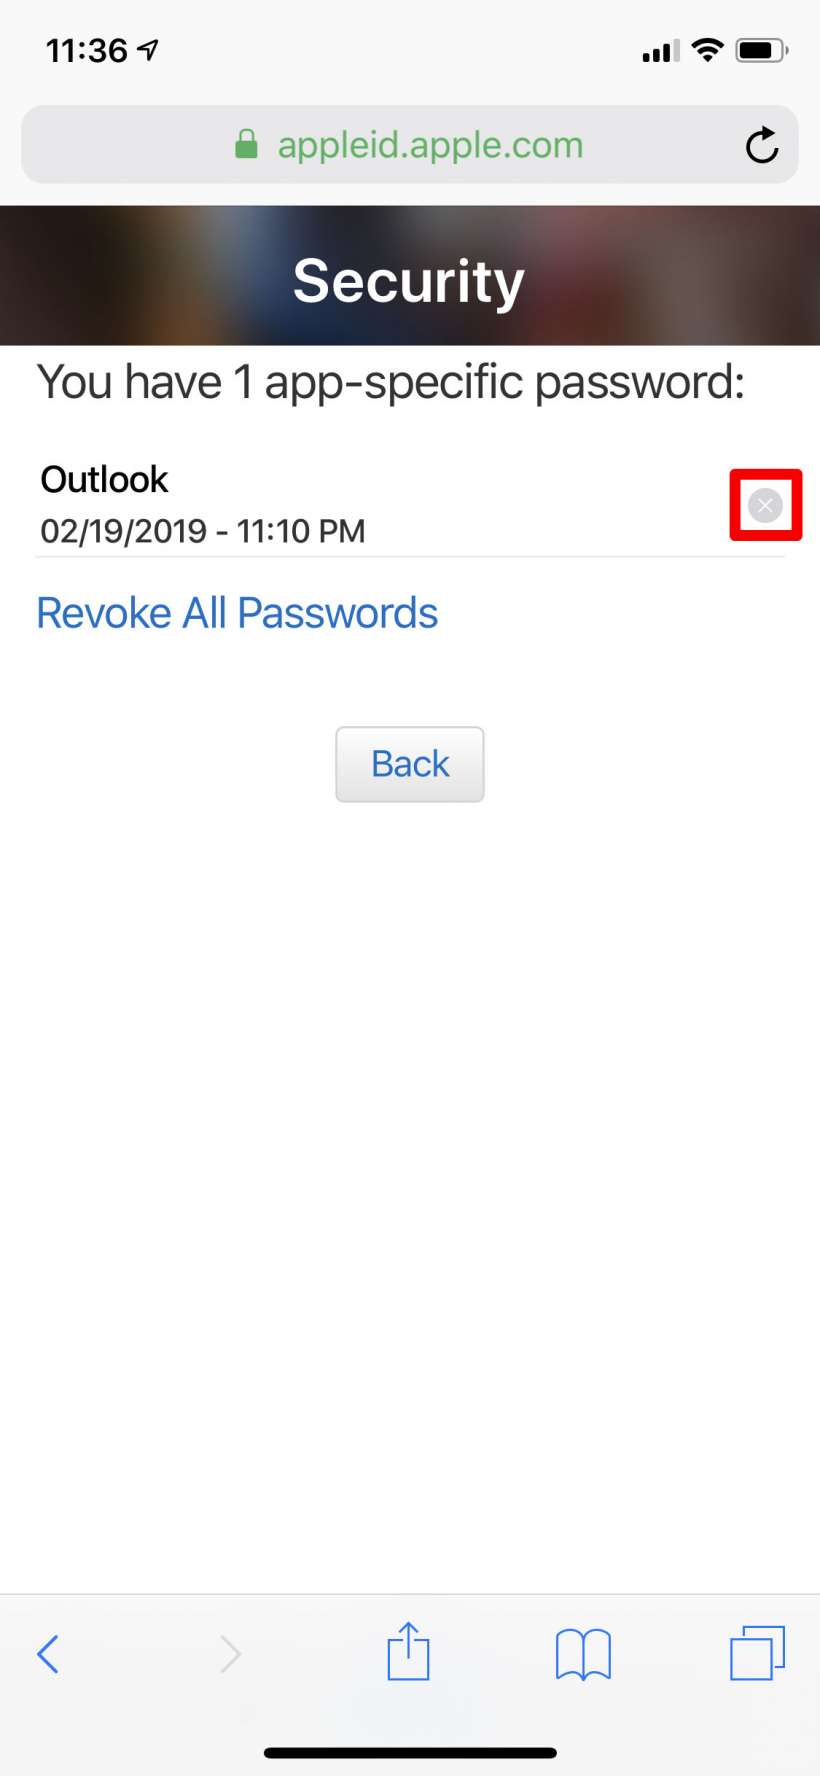
- If you ever want to revoke the password, go back to where you generated it and tap "View History." You will see a list of your app-specific passwords, just tap on the "x" next to the one you want to revoke and then confirm.
